
When you have an apple peeler (and know how to use it), peeling apples isn’t as much of a chore. Once you get the hang of it, you can add this healthy fruit to your diet and unleash your kitchen creativity. Plus, you’ll be baking enough apple pies and apple crisp dishes to last you months! Today, we’re here to help you learn how to use an apple peeler the right way, no matter which kind you have.
Table of Contents
How to Use a Handheld Apple Peeler
First off, let’s tackle the most popular apple peelers on the market: the handheld peeler. It’s easy to use and easy to store, what could be better?
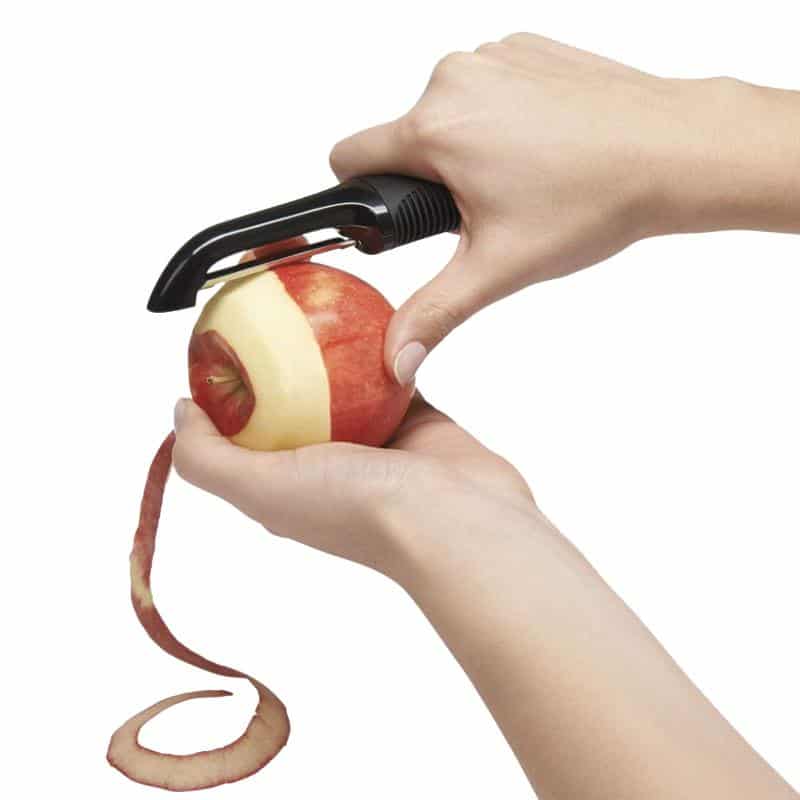
Step 1: Get a Firm Grip
You want to start by getting a good grip on your apple. Do this with your non-dominant hand (in other words, with the hand you don’t write with). Make sure the apple doesn’t slide from your hands, or you might just end up with a nasty cut on your hand. If it helps, grab a dry, clean kitchen towel to hold onto the apple.
Step 2: Move the Peeling Blade Along the Curves
With your dominant hand, firmly hold the peeler by the handle and bring it down the apple. The peeling blade should swivel and adjust to the curves of the apple, so you can get a long, clean, shallow cut.
It might help to place your thumb as far below on the apple as you can. Then, bring the handle of the peeler down toward your thumb. This should give you more control when apple peeling, if you want to be more precise and remove just the skin.
How to Use a Countertop-Mounted Apple Peeler
Alternatively, if you have a manual mounted apple peeler, corer, and slicer, here is what you’ll need to do.
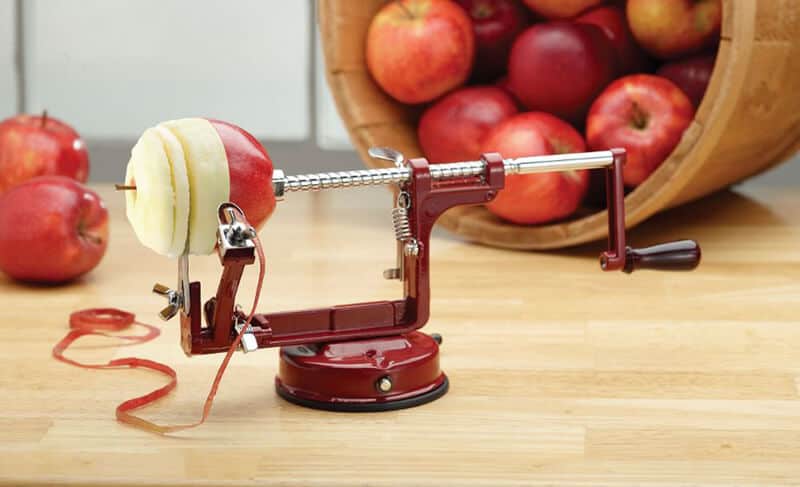
Step 1: Secure the Suction Base
First things first, make sure the peeler is correctly mounted on your countertop. You can easily do this by lightly wetting the suction cup at the base and pressing it down hard on the counter. Then, pull the lever next to the suction cup to tighten it. If you do this correctly, your apple peeler, corer, slicer gadget won’t budge from its position.
Step 2: Attach the Apple to the Prongs
Then, pull the rod with the prongs at the end back, just enough so you can attach the apple to the spikes. Try to place your apple as straight and level as possible, for the best results.
Step 3: Adjust the Blades
Before moving on, you need to adjust the blades. Did you know you can use an apple peeler to peel, core, and slice the apple simply by moving the blades around a little? Move the blades further back if you only want to peel your fruit. But move the blades further in if you want to peel, core, and slice the apple.
Step 4: Crank the Handle
Now that your blade is adjusted, start cranking the handle. This will push the apple toward the stainless steel coring circle and remove the skin (plus slice it, if you’ve set up the blades that way) as it goes forward.
Step 5: Remove the Core from the Peeler
Lastly, remove the apple from the peeler by freeing it from the prongs. If you chose the slicing and coring setting of the blades, then be careful when pulling on the fruit so the apple slices don't fall apart.
How to Use an Electric Apple Peeler
If you innovate countertop apple peelers, you get electric apple peelers. Even easier to use and faster at peeling, coring, and slicing.
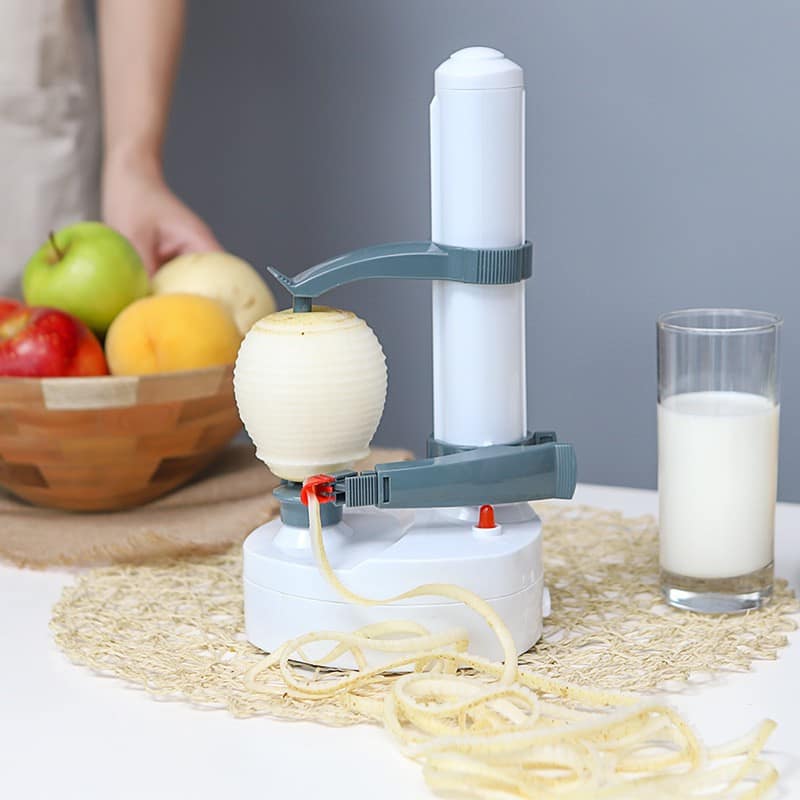
Step 1: Set Up the Electric Peeler
Set your electric apple peeler on a flat surface and plug it into a power outlet. Make sure all the pieces are mounted.
Step 2: Mount the Apple on the Peeler
Then, place the apple on the bottom prongs of the appliance. Be careful not to press any buttons while you’re doing this. Moreover, the apple should be as upright as possible and perfectly centered.
Step 3: Adjust the Peeling, Slicing, and Coring Blades
The best apple peeler machines powered by a motor also act as an apple slicer and apple corer. If you want to do more than just peel your fruit, you’ll need to tinker with the blades. Every machine is a bit different but, generally speaking, you can do this by tightening a bolt on the peeling arm. Look at the instructions manual for more information on your machine.
Step 4: Press the Button
Once you’ve set the blade settings you need, step back and press the “start” button. The machine will do all the work for you in just a few seconds. When it’s done, it should automatically turn off so you can remove the apple from the prongs.


Leave a Reply