
You can never go wrong with a quesadilla. It is the perfect snack—the delicious Mexican version of the grilled cheese sandwiches we so love in the United States. If you have a quesadilla maker, you can have a tasty cheesy bite at any time.
But before you can make a quesadilla, you need to know how to use a quesadilla maker. Don’t worry, this is one of those kitchen appliances that are incredibly easy to use. It takes just seven steps.
Table of Contents
Step 1: Plug In Your Quesadilla Maker
First, plug in your quesadilla maker. But before you do that, make sure the cooking surface is clean. You can wipe it down with a clean dishcloth.
Step 2: Spray the Griddles with Oil
Then, spray the two griddles with some cooking spray. This will prevent the tortillas from sticking to the griddles or burning. You don’t have to do this if your quesadilla maker has non-stick plates.
Step 3: Let the Quesadilla Maker Heat
The next step is closing the lid and letting the quesadilla maker heat.
Some quesadilla makers have an indicator light that flashes green when the cooking plates are hot enough.
If yours doesn’t have this feature, that is okay. Older quesadilla makers will still tell you, in a way, when they’re preheated and ready to cook. Leave the lid closed for around two or three minutes and then splash a few drops of water on the griddles. If the water quickly turns to steam, that’s your sign that the quesadilla maker is ready to use.
Step 4: Assemble Your Quesadilla on the Griddle
While you wait for the plates to heat, start assembling your quesadilla. If you do this directly on the bottom plates, you will have a lower chance of spilling ingredients all over your counter and making a mess. Also, remember to choose what ingredients you will use ahead of time, to avoid overheating about your preheated appliance.
The classic quesadilla is made with corn tortillas, but you can use flour tortillas as well. Bonus points if you make them at home. Make sure to pile on a heaping mound of good-quality cheese. You should pick a cheese that melts easily and is packed with flavor. Monterey Jack is a great choice. Additionally, you could stray from the traditional quesadillas and stuff yours with whatever filling you want; for example, a cheesy chicken quesadilla can be delicious (and is making my mouth water).
Step 5: Close Lid and Let Cook
Carefully close the lid on your quesadilla (beware, the handles might be very hot!) and let it cook.
Most quesadilla makers come with an indicator light to signal when your cheesy snack is done cooking. It should flash red when it’s ready to serve up.
Older models, despite not having this feature, are no more complicated. After about five minutes, the cheese should have all melted and the tortillas should have browned, which means the quesadilla is done cooking.
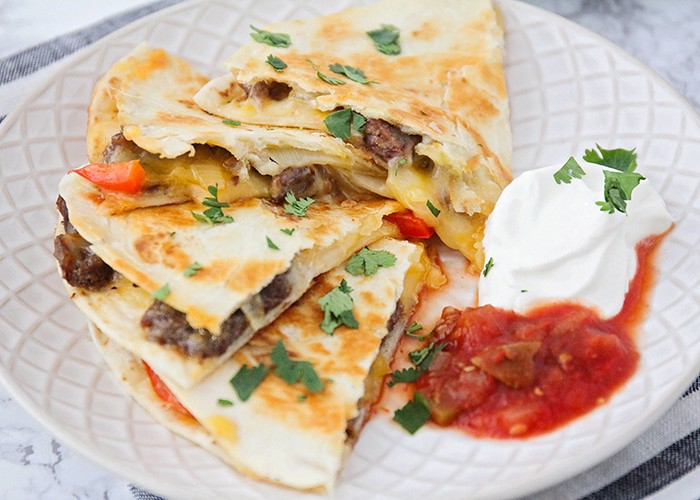
Step 6: Serve Up and Enjoy!
Quesadillas are best served piping hot, straight from the griddle. Plate up yours, cut into halves, quarters, or eight—and don’t forget your dipping sauces. A homemade batch of guacamole or a serving of your favorite salsa (e.g. Pace Picante Sauce) go perfectly here.
Step 7: Let Cool and Clean the Quesadilla Maker
As you enjoy your food, let the quesadilla maker cool before storing it. Once it’s reached room temperature after an hour or so, you can clean it. Wipe down the top and bottom griddles with a damp rag and pat them dry after that. Then you can put your quesadilla maker away until you need it again.


Leave a Reply