
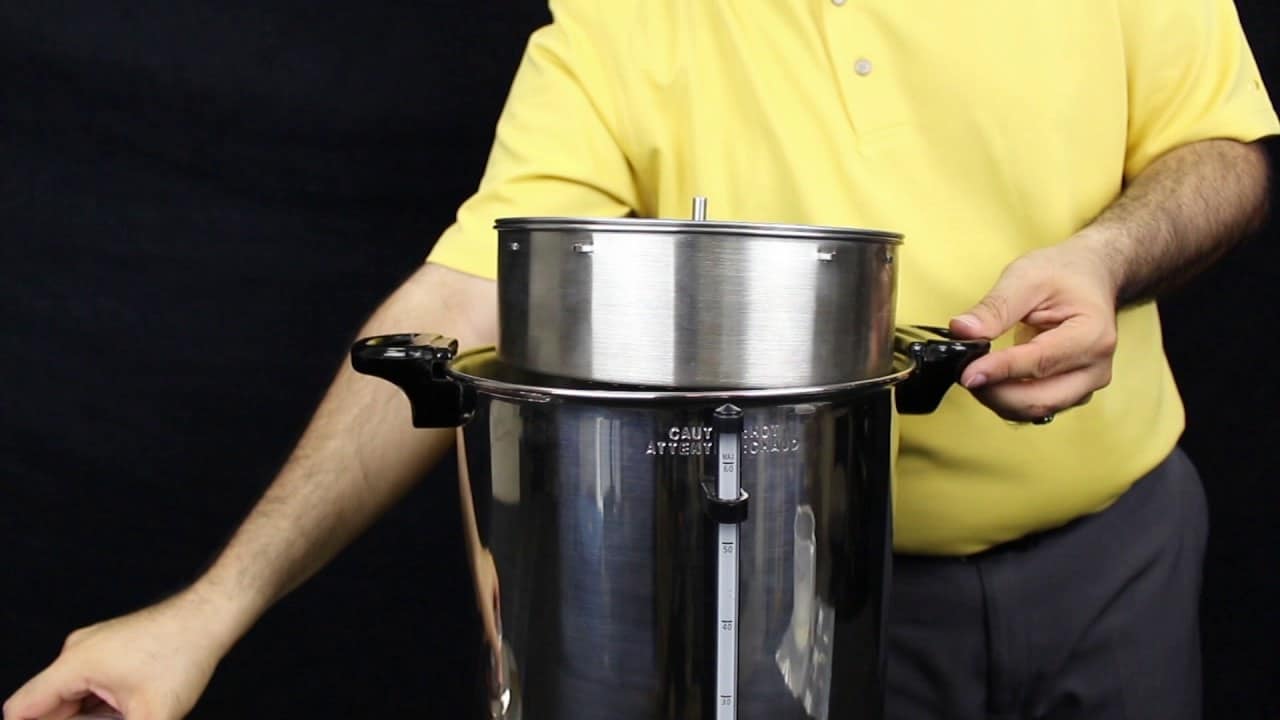
You’ll get the best-tasting coffee from a squeaky clean coffee urn. If you haven’t deep-cleaned yours since buying it, now is the right time to get started. While it may seem like a daunting task, once you learn from us how to clean a coffee urn, you’ll see just how manageable it really is!
Table of Contents
The Basic Cleaning Routine
The most basic cleaning routine for a coffee pot is simple and straightforward. Do it after every use and you’ll feel the difference in the taste of your beverages.
- Start by unplugging the coffee pot and letting it cool.
- Once it’s cool enough to handle, open the lid and remove the basket and stem. Wash them by hand using soapy, warm water. If your coffee maker’s parts are dishwasher-safe, you can skip the handwash.
- Then, fill the water tank with hot water until the halfway mark. Add a drop or two of liquid dishwashing detergent. With a soft sponge, clean all the crevices you can reach. Don’t forget to wash the heating unit at the bottom!
- Finally, drain the soapy, warm water and fill the tank up with hot water again. This is just to get rid of any soap residue left behind. You can easily do it by opening the serving spout. If need be, repeat the rinsing process again.
- Of course, you’ll also need to clean the outside. Wipe it down with a damp cloth. Alternatively, you could use a stainless steel cleaning product suited for kitchen surfaces.
How to Descale a Coffee Urn?
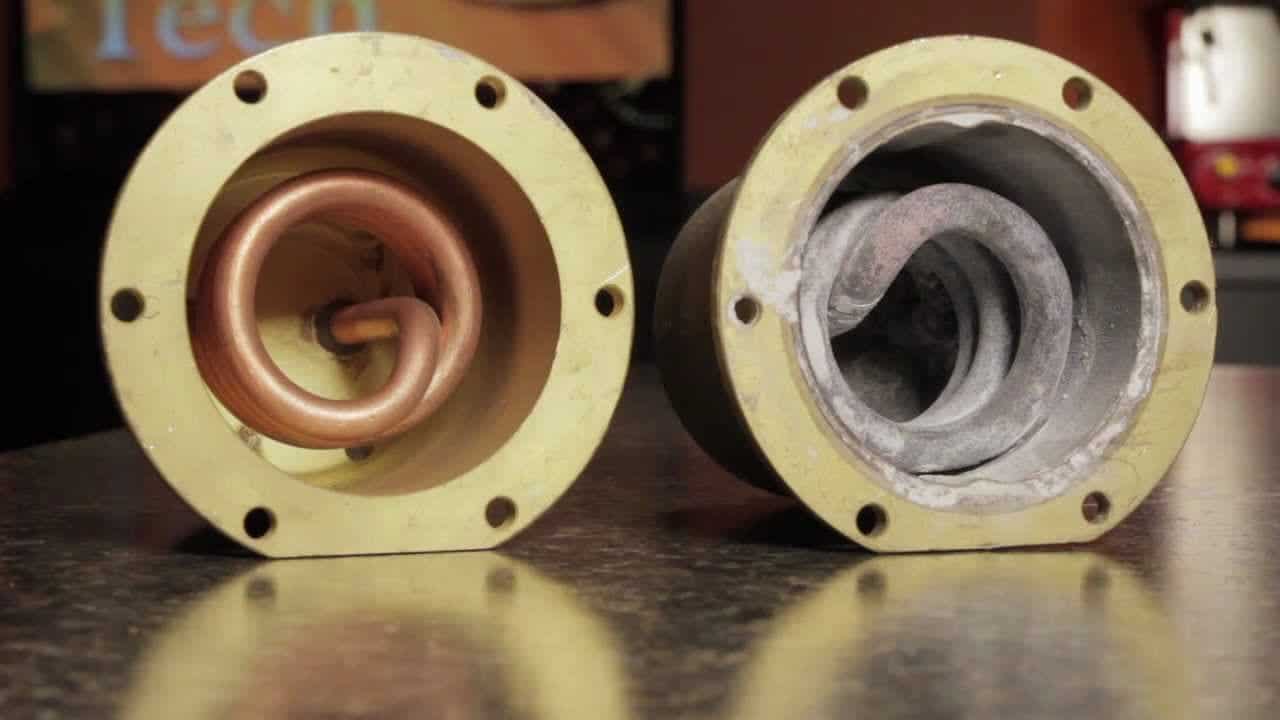
With time, your coffee pot might accumulate mineral buildups. When this happens, you’ll need to do rigorous descaling, which isn’t too hard.
Step 1: Make a Descaling Mixture
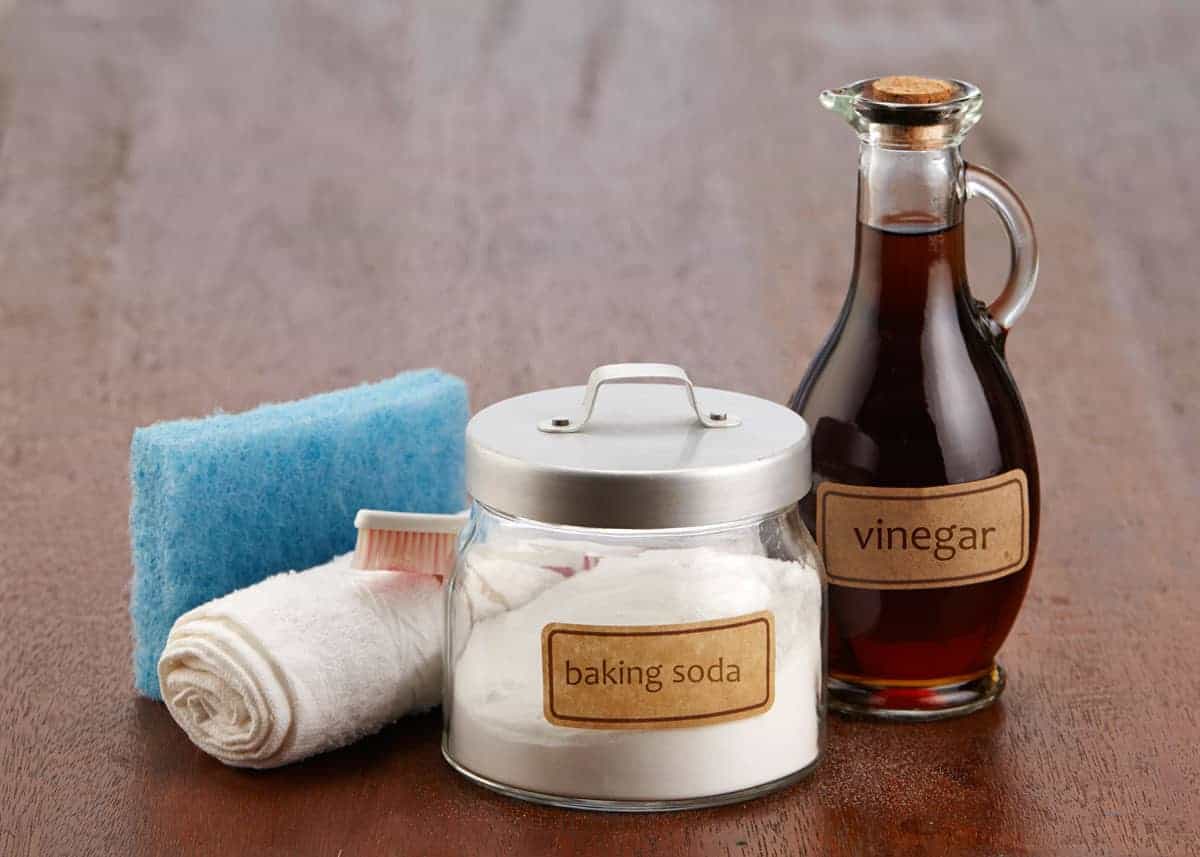
There are several household products you can use to descale the inside of your percolator. White vinegar and fresh-squeezed lemon juice do wonders.
Add one part cleaning agent to one part warm water. In total, you should prepare two quarts of this descaling solution.
Step 2: Let It Brew
Pour that mixture into the percolator with the stem and basket removed.
Then, close the lid and plug in your coffee pot to let it start brewing. Once the perk cycle is complete, an indicator light will turn on.
That’s when you’ll let it soak for fifteen more minutes, without unplugging the appliance from the outlet.
Once fifteen minutes have passed, drain the tank by opening the serving spigot.
Step 3: Clean It
Now that the descaling solution has worked its magic, you’ll have to let the coffee maker cool.
Then, follow all the steps we talked about in the “basic cleaning routine” portion of this guide.
How to Remove Stains from a Coffee Pot?
The more you use your coffee maker, the more discolored the inside will look. This doesn’t mean that your appliance is broken, it just means it has to be cleaned.
Step 1: Fill and Assemble the Coffee Pot
The first thing to do is fill the coffee pot almost up to the top. Then, you’ll want to insert the stem in its correct position with the basket on top.
Step 2: Make Anti-Discoloration Mixture
Put two tablespoons and one teaspoon of cream of tartar into the coffee grounds basket. It may sound odd, but this is actually a great cleaning agent. Plus, you can find it at an affordable price in most supermarkets.
Step 3: Brew Away
Now, you’ll need to close the lid on the coffee maker and plug it into a socket. You’ll want to run a perk cycle.
When the indicator light turns on and the brew is complete, let sit undisturbed for fifteen more minutes.
Once the time is up, you can drain the coffee maker and unplug it.
Step 4: Give it a Clean
Finally, the cream of tartar has had enough time to get rid of those pesky stains. All that’s left to do is repeat the steps for the “basic cleaning routine” we’ve outlined to get rid of any traces of discoloration-removing liquid.
The Do’s and Don’ts of How to Clean a Coffee Urn
Here is a quick rundown of things you should and shouldn’t do when cleaning your coffee maker.
Do Wash the Parts After Using Them
Make sure to thoroughly clean the stem and coffee basket after brewing coffee. It will ensure they stay scale-free and running perfectly.
Don’t Use Bleach or Harsh Soaps
Bleach and most harsh soaps eat away at the stainless steel interior and exterior coating of the coffee maker. Stick to the methods we outlined in this guide and to gentle soaps.
Do Run the Perk Cycle When Cleaning
Don’t be afraid of running the coffee maker while you’re cleaning the machine. It just makes your job easier and the cleanup more thorough.
Don’t Submerge Your Coffee Urn
Never, ever, ever dunk your coffee maker into a vat with cold or warm water. It will damage the appliance and set you back several dozens of dollars (if not hundreds) to get it fixed.


Leave a Reply