Keeping your mini fridge clean and frost-free is crucial. It’s just as important as any other kitchen upkeep task, such as cleaning your pots and pans when they get dirty! Yet, not many people do it often enough. We’re willing to bet that’s because they find this task intimidating—but it really doesn’t have to be. We’ve put together this helpful guide on how to defrost a mini fridge in the easiest way possible. You can do it in just one day! There are no more excuses now.
Table of Contents
First Things First: Prepare Your Fridge
There are a few things you have to get done before you start the defrosting process. It may seem like a lot, but it’s doable, we promise. It’ll be all worth it when you get to the defrosting part.
Remove All the Food
Your mini fridge will be out of commission for a day or two while you defrost it. If you can ask neighbors or friends to keep your food in the meantime, great! But if you can’t, it’s time to start using up all the food so that it doesn’t go to waste.
Avoid buying new ingredients and try to whip up recipes using what you already have. This is your shot to be as creative as you can!
We recommend making a vegan buddha bowl or a vegetarian pad thai. They’re awesome fridge-cleaning recipes. Plus, they’re incredibly flexible, meaning you can adjust it to the ingredients you need to use up.
Unplug Your Mini Fridge
When your mini fridge is empty you can unplug it from a power outlet. You should do this even if your mini fridge has an “off” button, for maximum safety.
Lay Down a Towel
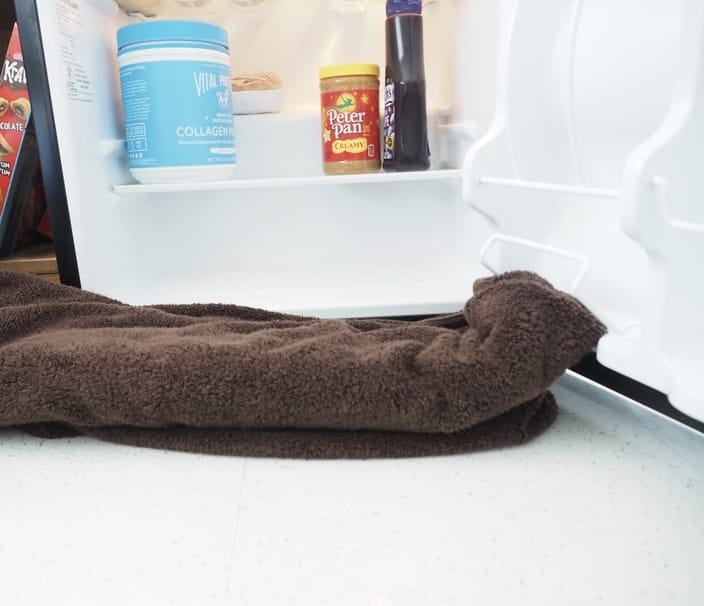
A lot of water will come out of your fridge while it is defrosting. That’s why you need to lay down a few towels under the fridge (especially under the door opening) and on the floor around it. This will prevent puddles from forming and possibly damaging your hardwood or carpeted floors.
Pro tip: use bath towels, as they’re thick and the most absorbing. Paper towels just won’t cut it. Future you will thank you for not skipping this step.
Take Out Shelves and Drawers
When that’s done, you should take out all the shelves (if you can) and drawers. It will speed up the defrosting process and make the next steps easier.
If your mini fridge has a freezer compartment, leave its door open.
Then, Get to Work Defrosting
Now that all the prep work has been done, you can pull up your sleeves and work on getting all the frost out of your mini fridge.
Remove the Excess Ice
If you’re in a hurry to get your mini fridge back to brand-new condition, it’s a good idea to manually remove the excess ice.
Grab a plastic spatula and carefully scrape off the frost that has built up on the walls of your mini fridge. Don’t go in too aggressively, as you could end up damaging your appliance! Remember, patience is key.
Place a Bowl with Hot Water Inside
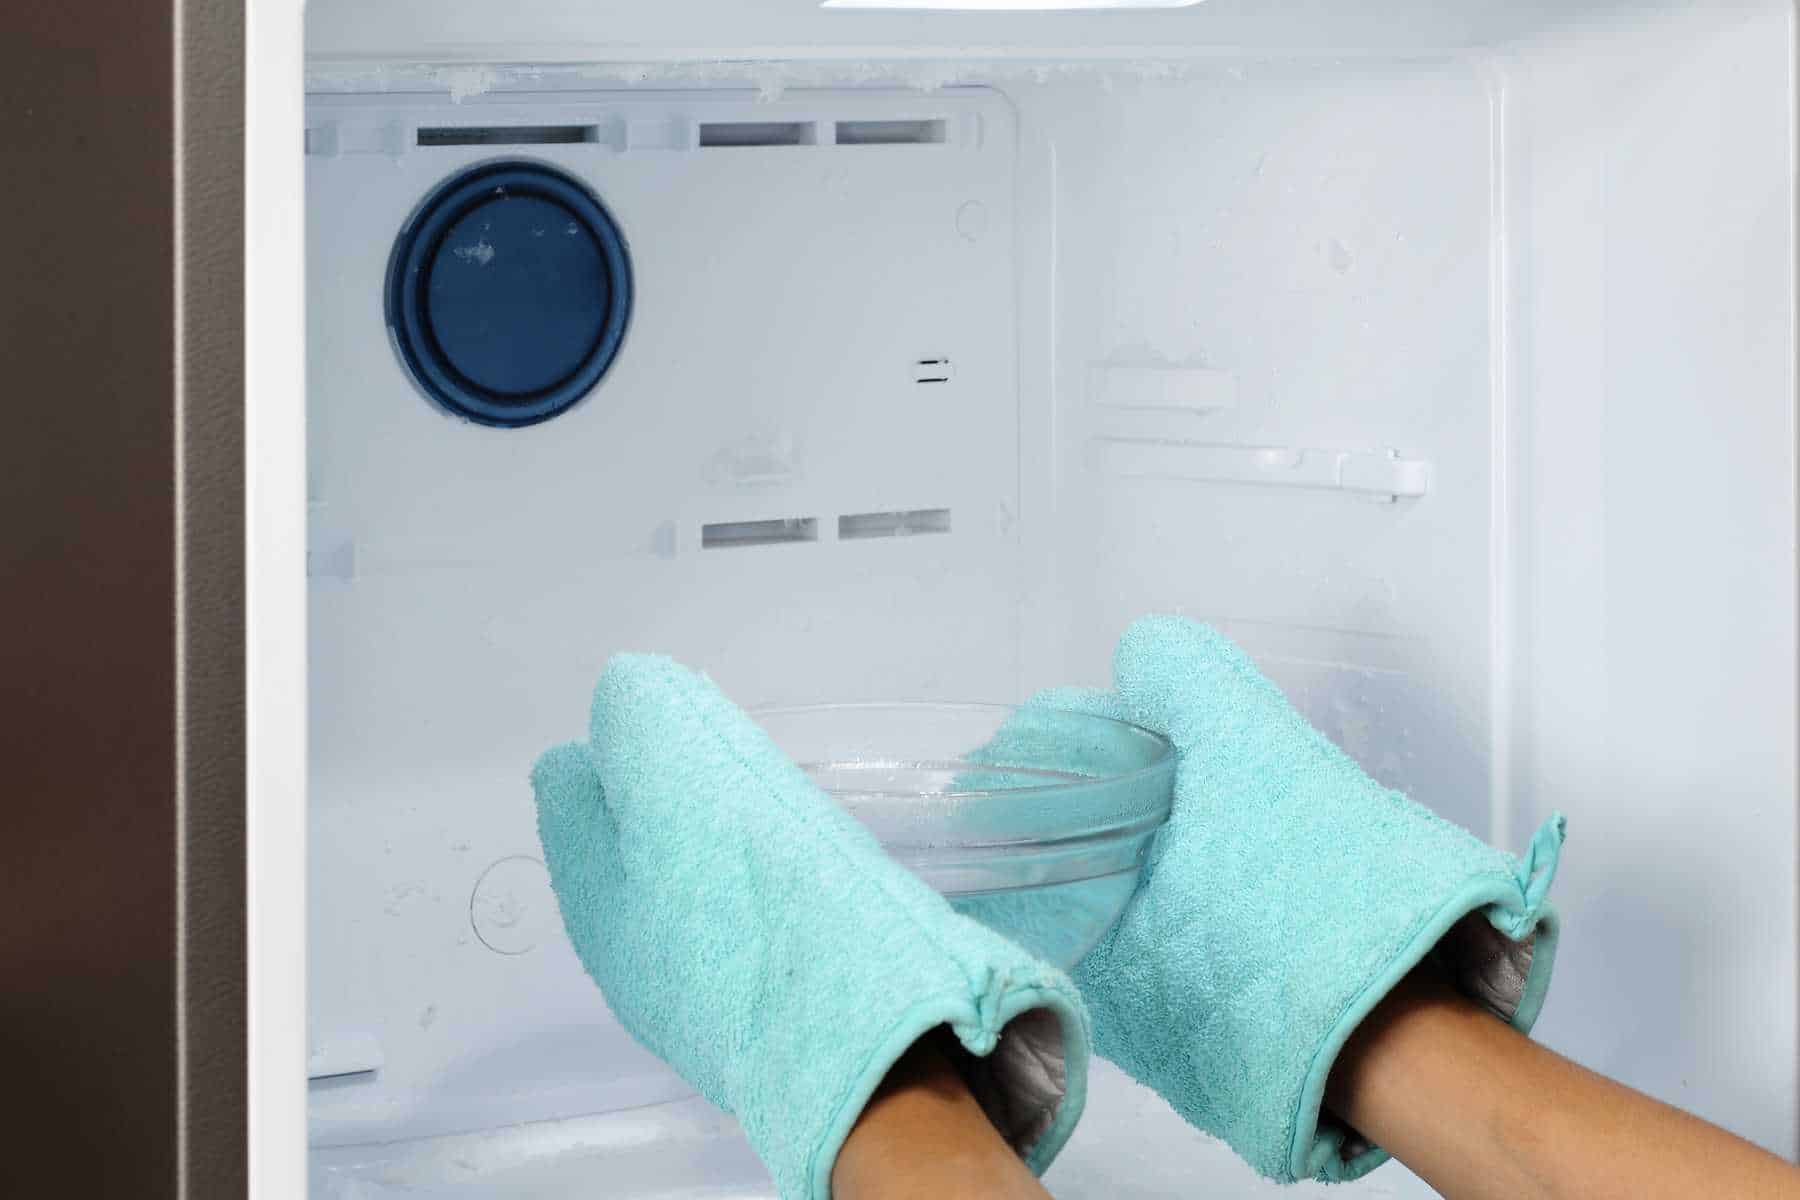
When that’s done, you can boil water in an electric kettle and pour it into a large pot. Then, place it inside your mini fridge. The steam from the pot will raise the temperature inside the fridge, forcing the ice to melt quicker. Just remember to keep the door open at all times!
Cleaning Up the Mini Fridge
After several hours, you should have a perfectly frost-free mini fridge! Keep in mind that this could take longer depending on the weather where you live. Either way, there are a few more steps left before you can call it a day.
Washing Individual Parts
Firstly, you have to clean the shelves and drawers. This is mainly for hygienic purposes. Use warm, soapy water and leave them to dry.
Wiping Down the Inside of the Mini Fridge
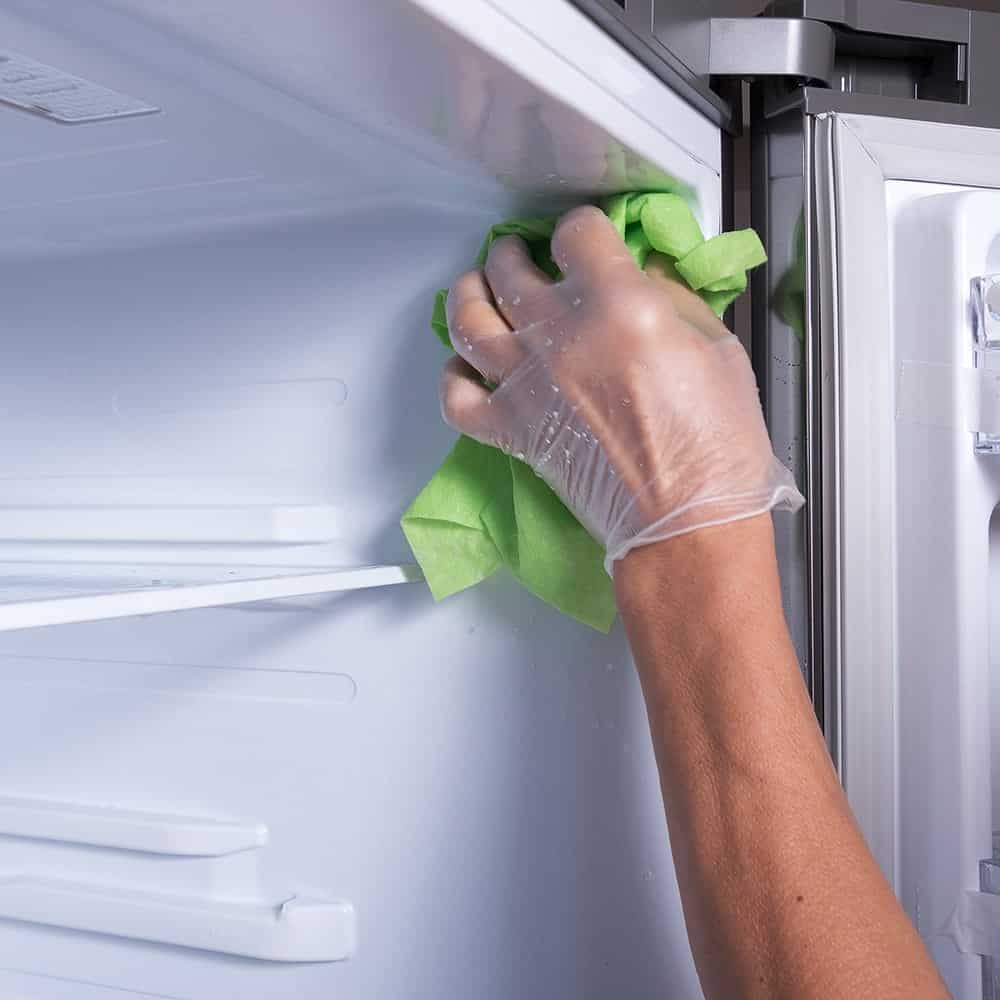
Then, it’s time to do the same for the inside of the fridge. Use a warm soapy rag to get rid of any stains and bad odors. Leaving a bowl of baking soda inside the fridge will also help you cut out the bad smells.
Get Everything Dry
Make sure your mini fridge is completely dry before plugging it in or closing the door.
Plug It Back In
Once the mini fridge is bone-dry, you can plug it back in. Wait a few hours for it to chill and it’s ready to use again!
Top 5 Don’ts of Cleaning a Mini Fridge
There is a lot of bad advice floating around on the internet. Here are five things you definitely should never do when defrosting mini fridges.
1. Don’t Use a Metal Scraper
Metal scrapers are too aggressive and can cause serious damage to your mini fridge. Unless you want to pay for expensive repairs, stick to the plastic ones.
2. Don’t Forget to Dry the Inside of the Mini Fridge
If you plug in your fridge while it’s still wet inside, the moisture will all turn to frost in the blink of an eye. Your effort will all have been for naught.
3. Don’t Use a Blow Dryer to Defrost
Some people will tell you to use a blowdryer to get rid of the frost quickly. Don’t do it. The heat from the blow dryer can damage the plastic parts inside the fridge.
4. Don’t Put Perishable Foods Back Right Away
Your mini fridge will need a few hours to chill down to a food-safe temperature.
5. Don’t Wait Too Long to Do It
The longer you wait to defrost your fridge, the harder it will be. Tackle the problem once you see 0.25 inches of frost buildup.






Leave a Reply