Who doesn’t love waffles as a special treat in the morning? Going to a diner when the cravings hit gets expensive, but the frozen kind you buy from the supermarket can also get dull. Fortunately, if you already have a waffle maker in the cupboard, you can make the most delicious breakfast at home for a very low price.
And the best part? There isn’t too much to know about how to use a waffle maker; after all, one of the main perks of a waffle iron is that it’s so practical and easy to use!
Keep reading to learn the basic steps to cooking the perfect waffles quickly and without making a mess. You don’t even need to reach for the complicated instruction manual that came with your waffle iron.
Table of Contents
Step 1: Make the Batter
The first step is, as you could have guessed, making your waffle batter. Would you be surprised if I told you that you can whip up a batch in just five minutes? Plus, you probably already have all the ingredients needed.
Ingredients:
- 2 cups of all-purpose flour
- 2 tablespoons of white sugar
- 4 teaspoons of baking powder
- 1 teaspoon of salt (to bring out the flavor)
- 2 eggs
- 1.5 cups of milk, warm
- ⅓ cup of butter, melted
- 1 teaspoon of vanilla extract
Making the batter:
- In a large bowl, mix together all the dry ingredients.
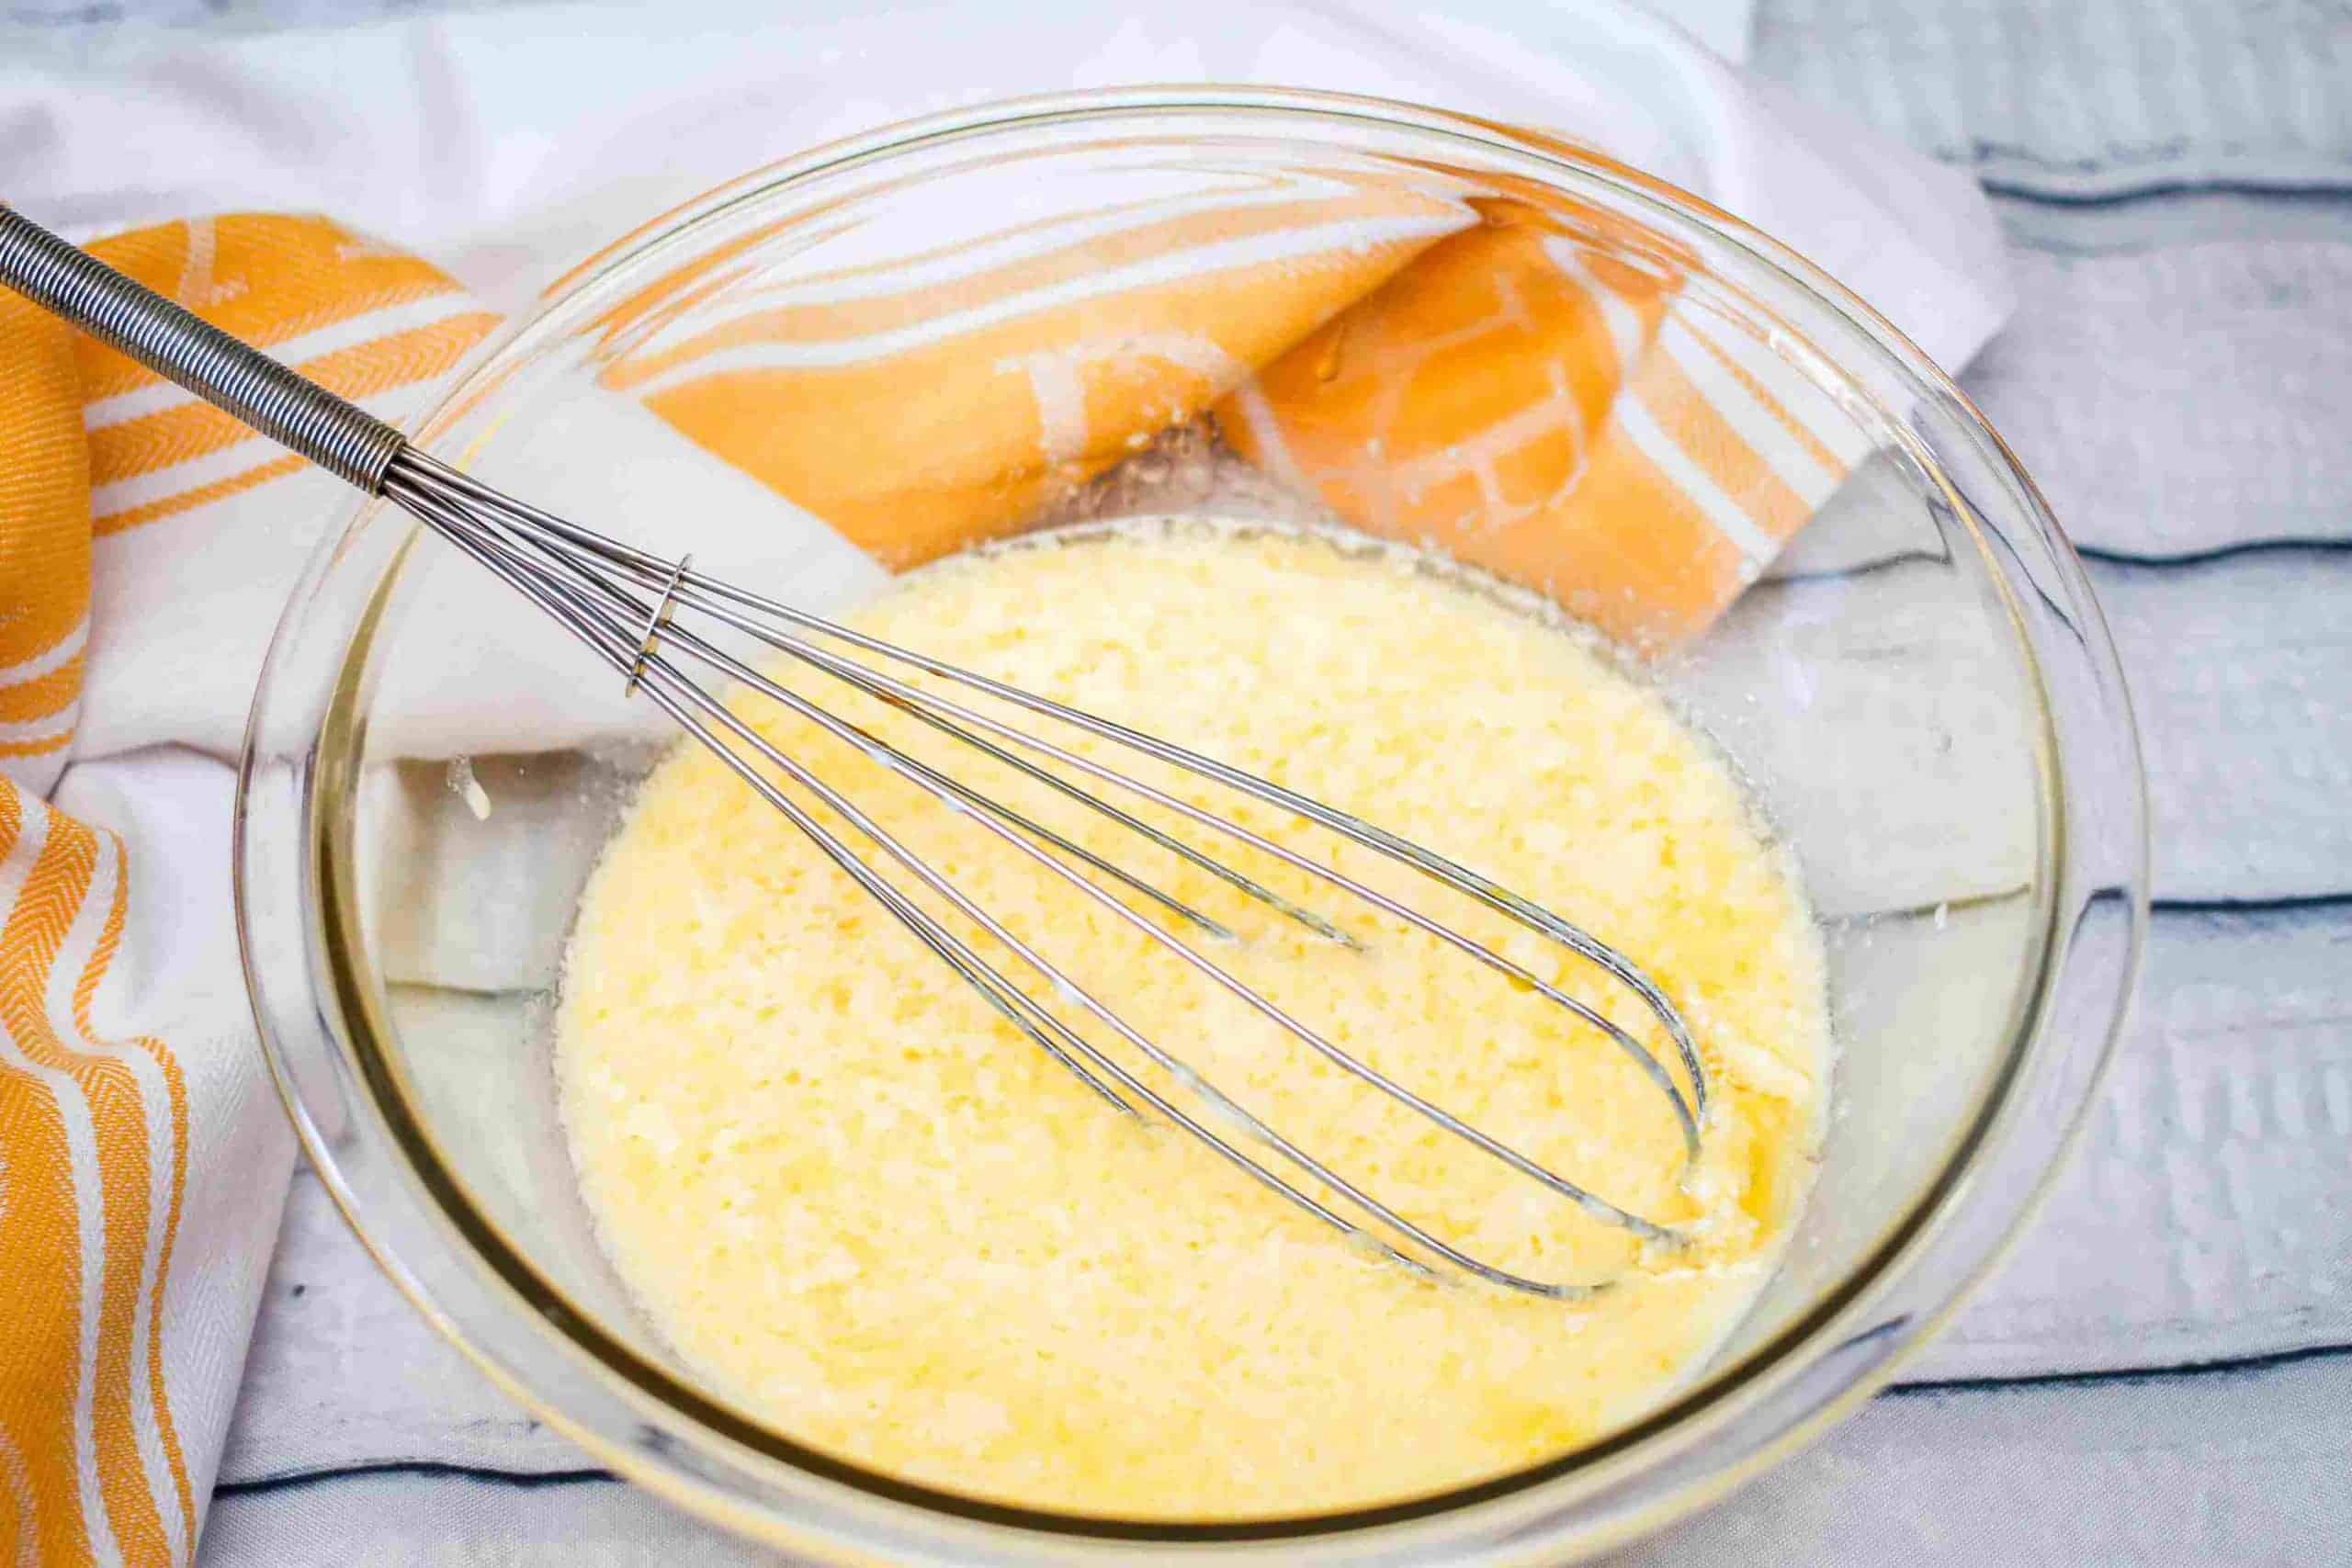
- In another bowl, whisk the eggs and add the wet ingredients.
- Slowly add the wet mixture to the dry mixture. Whist well to incorporate, until there are no lumps.
Step 2: Preheat Your Waffle Maker
As you’re preparing the batter, plug in your waffle maker and let it preheat.
Most waffle makers come with an indicator light. It’s usually green and it lights up when the waffle plates are hot enough and ready to cook. This is a handy feature to have because, this way, you’ll always know when to move on to the next step.
If you’re using an older waffle iron model with no indicator light, check to see if steam comes out. When it does, the waffle maker is preheated and ready to use.
Step 3: Grease the Waffle Iron Plates
You don’t have to grease the plates of your waffle maker, but this will help the waffles slide off more easily once they’re cooked. You can spray some cooking oil or carefully drizzle vegetable oil on the plates.
If your waffle maker has non-stick plates, you could bypass this step entirely. Just make sure the plates still have their non-stick coating intact.
Alternatively, you could just not use cooking spray on the plates if you’re watching your fat intake. Although a few drops of oil won’t make much of a difference, you can skip this step and spend more time thoroughly cleaning the plates.
Step 4: Pour in the Batter, But Don’t Overfill
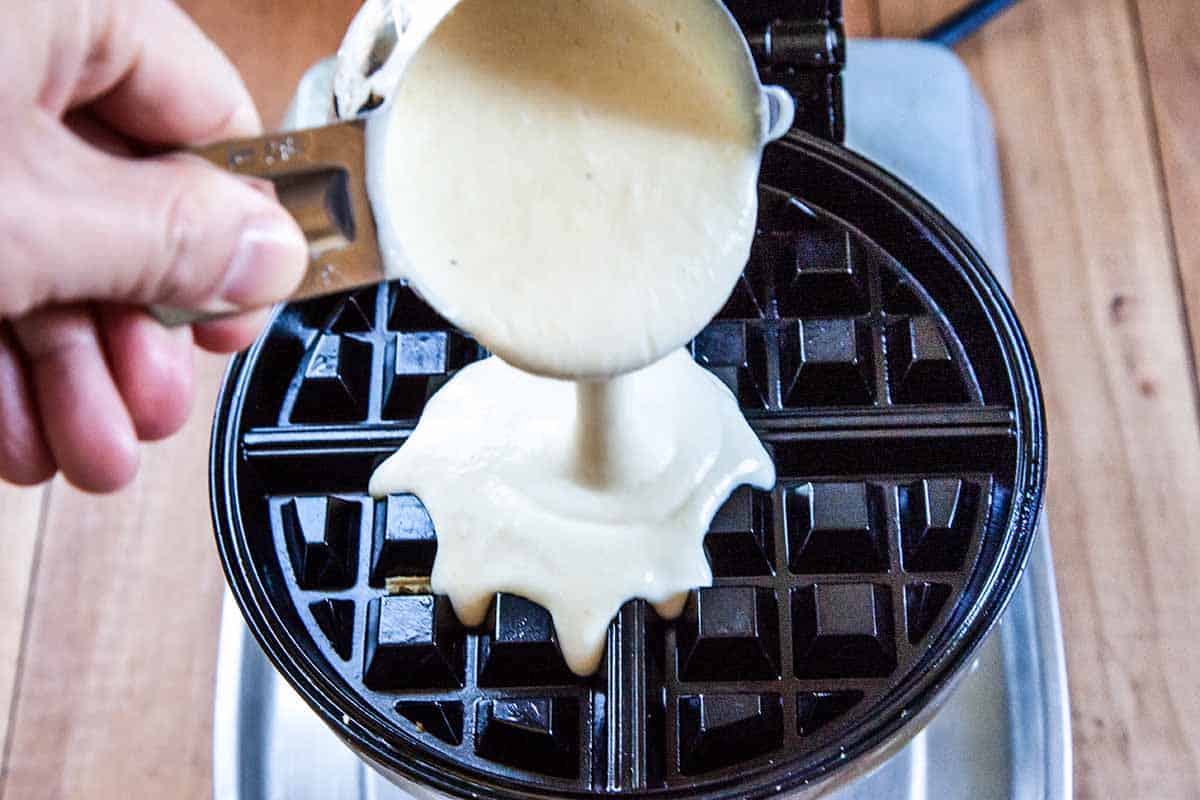
Now it’s time to pour the batter on the preheated plates. You should aim to use about ¾ of a cup of batter per waffle. This way, your waffles will come out tall, fluffy, and soft.
Of course, every waffle maker is different, so you may need to make some adjustments here. However, ¾ of a cup is usually the perfect amount to prevent overfilling the waffle iron. Otherwise, once you close the lid, the batter will spill through the sides.
Step 5: Close the Waffle Iron Lid and Set a Timer
Once you’ve poured in the batter, you should close the lid—and fasten the clasp, if your waffle maker comes with one—and wait.
Waffles usually take between four and six minutes to cook completely. If you like your waffles lightly golden, turn off the waffle maker at the four-minute mark. If you like them golden brown, six minutes should do the trick.
Only some waffle makers come with a built-in timer. If yours doesn’t, it’s best to set a kitchen timer or use the timer on your phone to keep up with the cooking process. You don’t want to end up with undercooked or burnt waffles, right?
Step 6: Plate Up and Enjoy!
Finally, we get to the last step: removing the waffles from the waffle maker and serving them!
The waffles should release from the waffle plates easily. But if it doesn’t, wait a minute for them to cool down and use utensils to get it unstuck.
Preferably, you should be using silicone, plastic, or rubber utensils. Unlike metal utensils, they won’t scratch your waffle maker. This is especially important if you’re using a waffle maker with a non-stick coating.
Of course, I don’t need to tell you how to enjoy your waffles. I like mine with butter and maple syrup. Other times, I’ll reach for fresh fruit (berries for the win!) and add other toppings, such as ice cream or Nutella.
Extra Waffle Iron Tips and Tricks
See how easy that was? And you didn’t even need a user manual! But that’s not all. I still have some handy waffle maker tricks up our sleeve, and I’m ready to share them with you.
1. Don’t Let Your Waffles Turn Cold
Cold waffles aren’t as fun as freshly baked ones. To avoid a disappointing meal, stick the waffles you’ve just made in a warm oven on a lined baking sheet. Use the lowest temperature setting possible, to make sure they don’t get overcooked.
You can also wrap them in a paper towel or kitchen towel to preserve their warmth.
2. Don’t Open the Waffle Maker
When cooking waffles, patience is a virtue—and it pays out. Avoid opening the waffle maker while the waffle cooks to make sure you get a perfectly cooked breakfast. Set a timer, trust the process, and wait (im)patiently.
3. Freeze and Toast Leftover Waffles
Sometimes, estimating isn’t our strongest suit. If you made too much waffle batter or made too many waffles, there’s no need to throw them away.
Put the cooked waffles in a plastic zip-lock bag or in a reusable sandwich bag and in the freezer. They will keep for up to three months.
When you’re ready to eat them, simply put them into your toaster and let them thaw out. If your toaster has a defrost setting, all the better!
Bonus: How to Use a Waffle Maker for Other Recipes?
If you’re still curious about what to use your waffle maker for, there are other simple recipes you can whip up.
Switch Up the Batter
Keep things interesting by changing up the waffle batter recipe you’re using. Add apple cider, nutmeg, and cinnamon for a delicious batch of Autumnal Waffles. Or you can incorporate ripe bananas and chocolate chips in the batter for some Healthy Banana Bread-Inspired Waffles. The choices are endless and they'll all work with your waffle maker—get creative!
Make Hashbrowns
For a savory breakfast, use your food processor to quickly grate two potatoes, add salt, pepper, and butter. Then, pour the mixture on your preheated waffle iron (greased with cooking spray) close the lid, and voilà—Waffle Maker Hashbrowns!
Make a Quesadilla or a Grilled Cheese
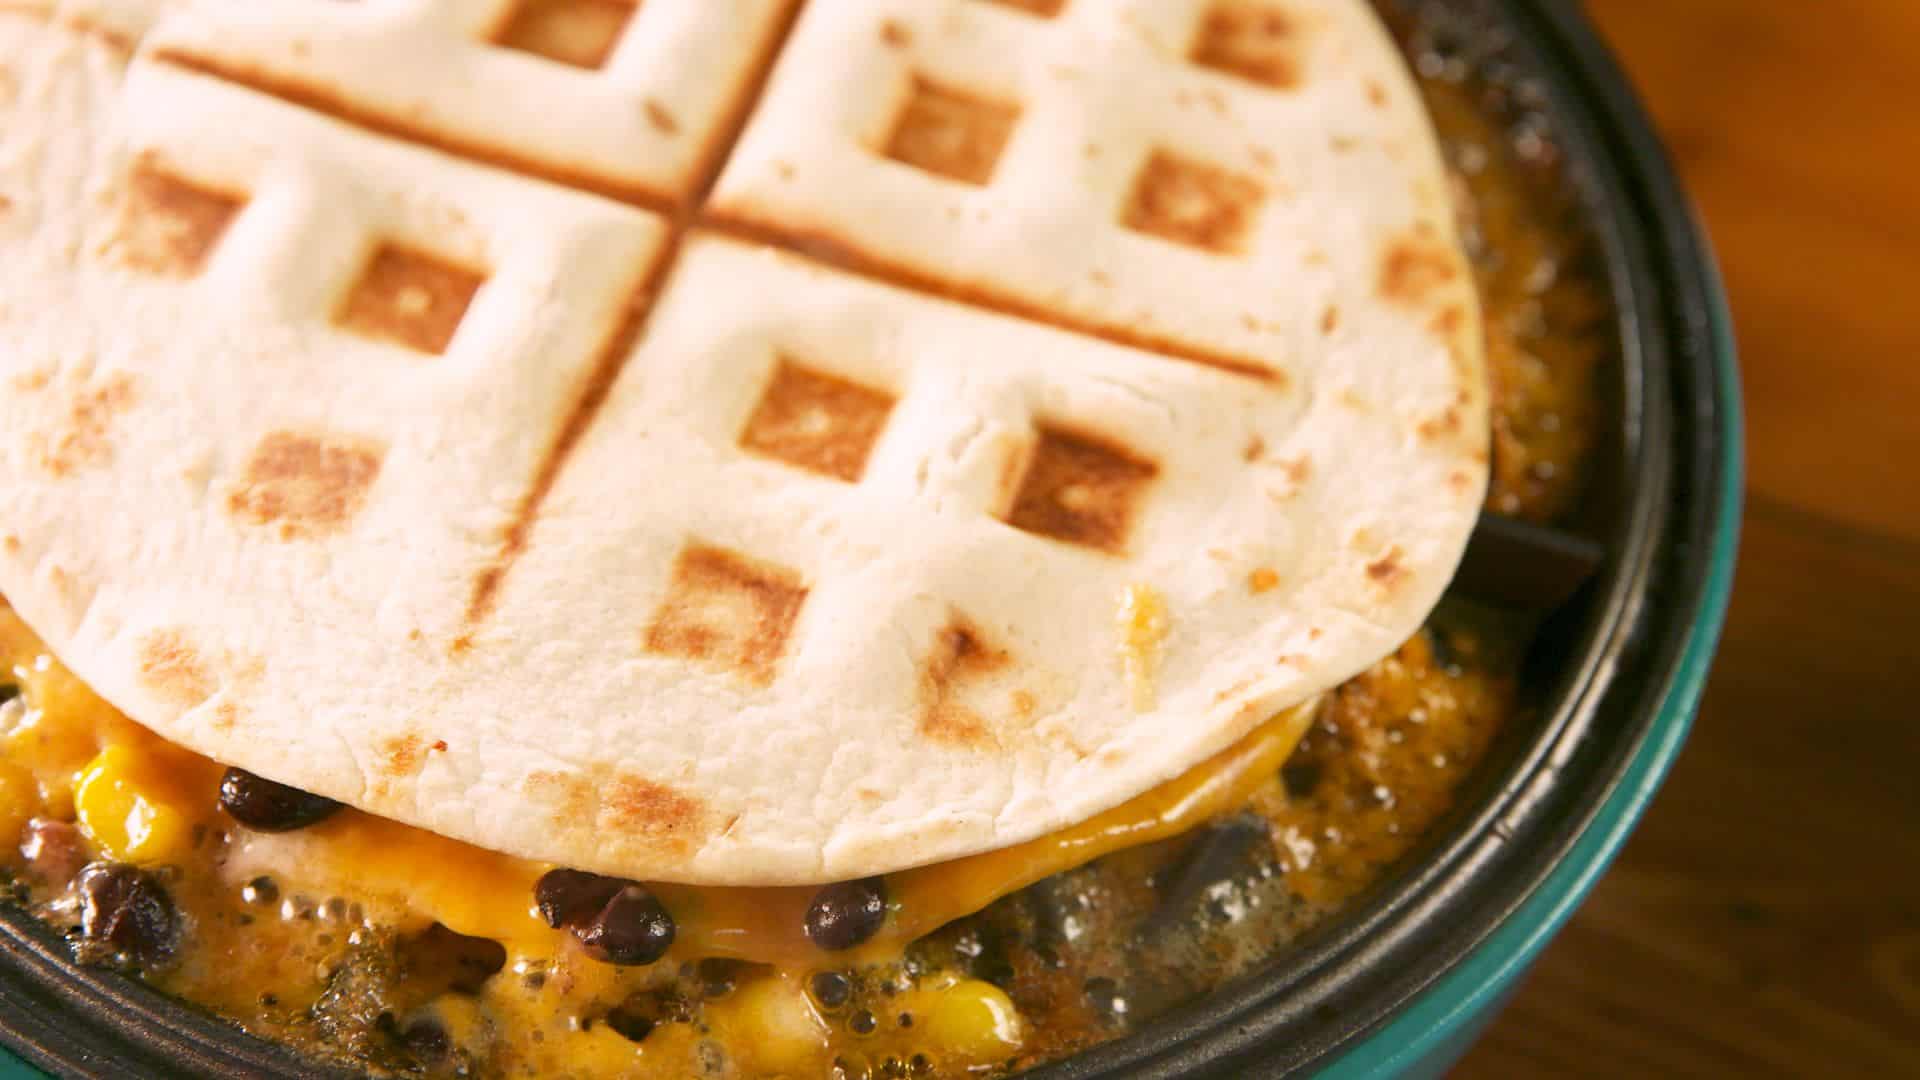
Our last suggestion is to make a quick, simple, and impromptu quesadilla or grilled cheese in your waffle maker—your call. To do this, you’ll be blending the best a quesadilla maker and a panini press have to offer.
Lay either a slice of bread or a tortilla on the waffle plate, add your cheese and any other ingredients you feel like, and cover it with the other slice of bread or another tortilla. Lower the lid and after a few minutes, you’ll get a grilled cheese/quesadilla that’s shaped like a waffle.






Leave a Reply