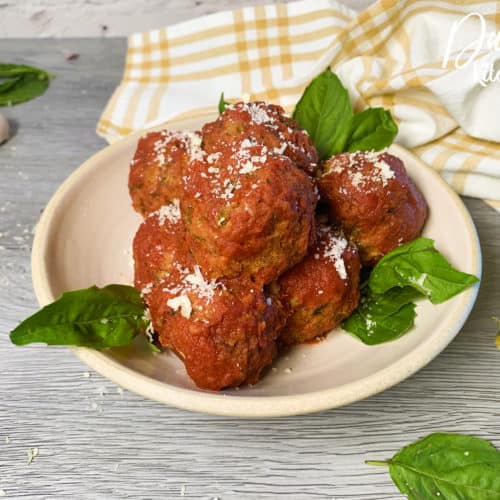
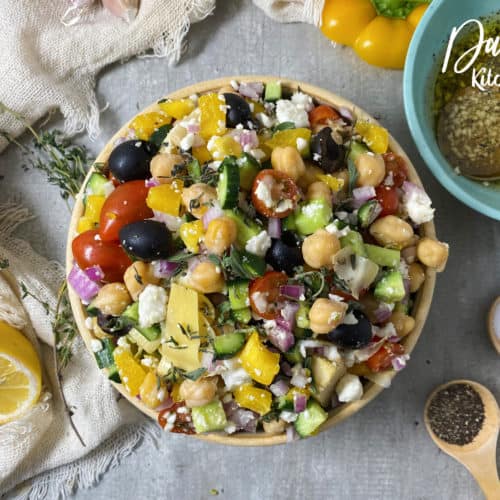
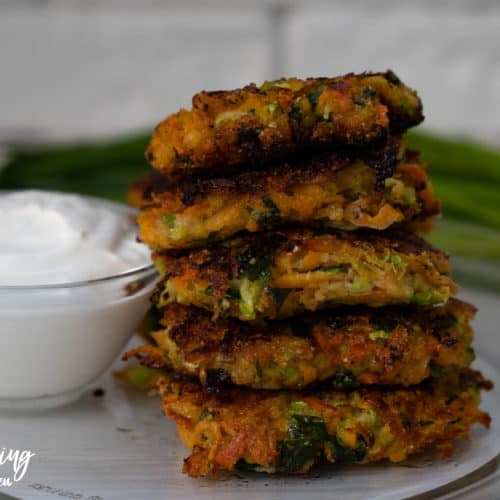
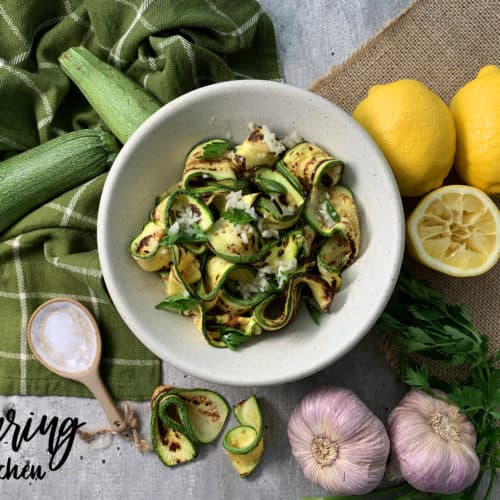
New Recipes

See more all recipes →
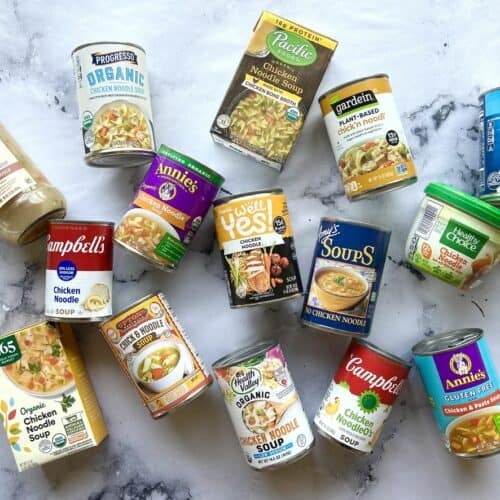
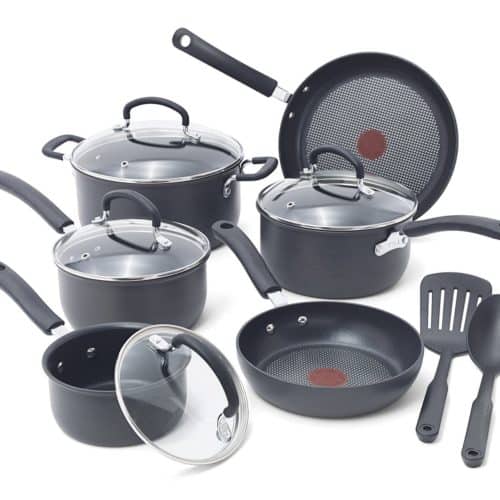
Product Reviews
These are food products we have tested and recommend
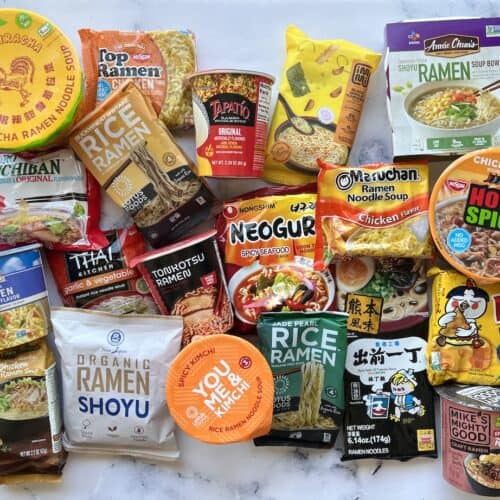
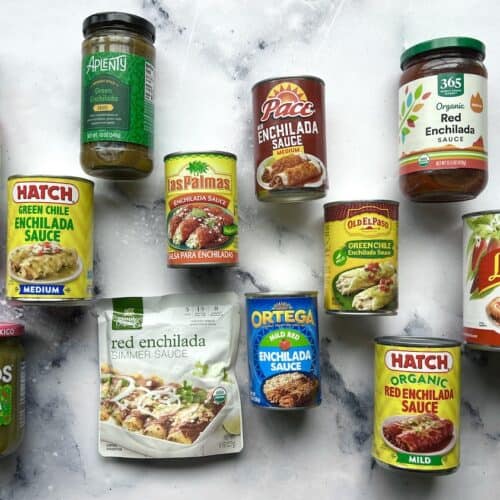
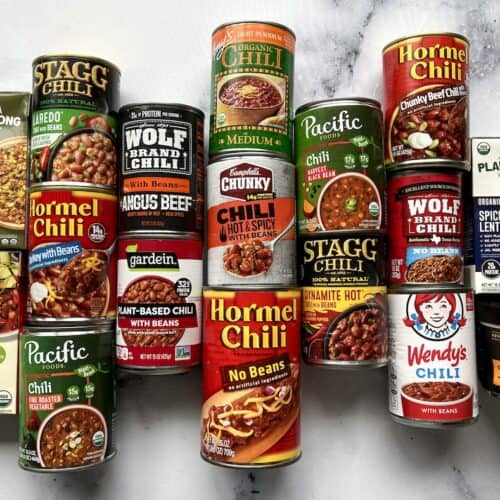
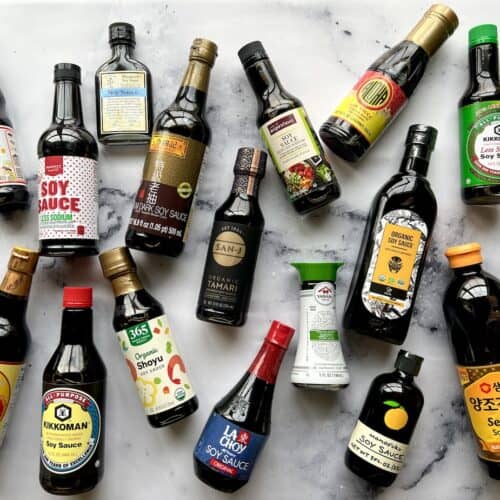
See more product reviews →
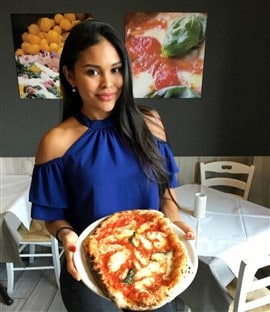
About Ligia Lugo
I love experiencing new cultures through foods and it shows in my travels. When I'm at home I try cooking healthy but love blending dishes I've learned with fresh local ingredients.
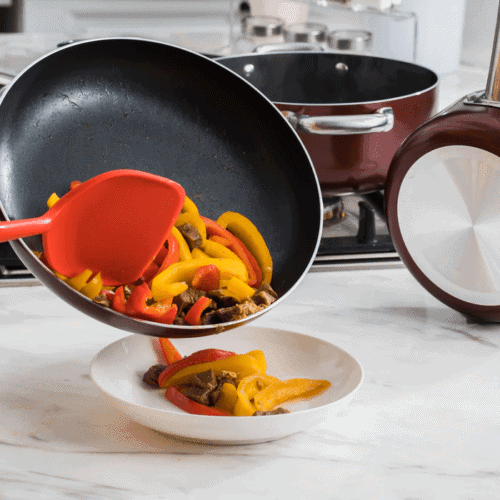
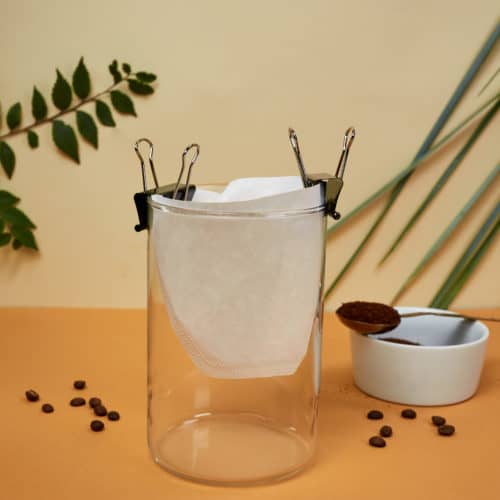
How To
These are guides we've created to teach you how to do various tasks in your kitchen.
See more how to guides →
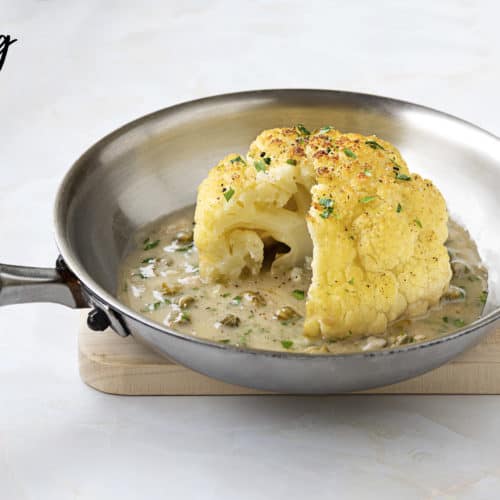
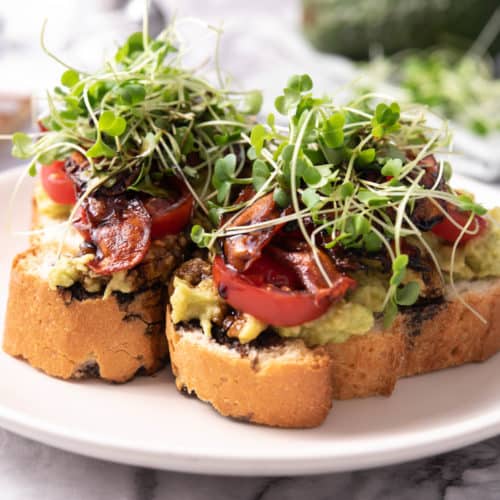
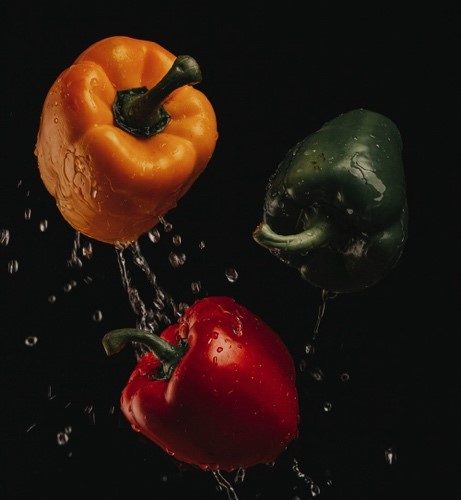
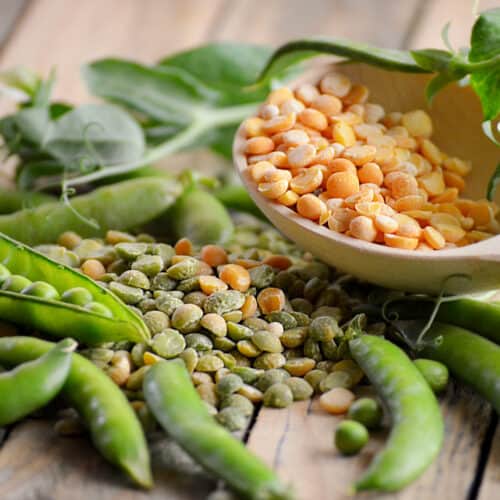
Main Course
See more main dishes →
Breakfast Recipes
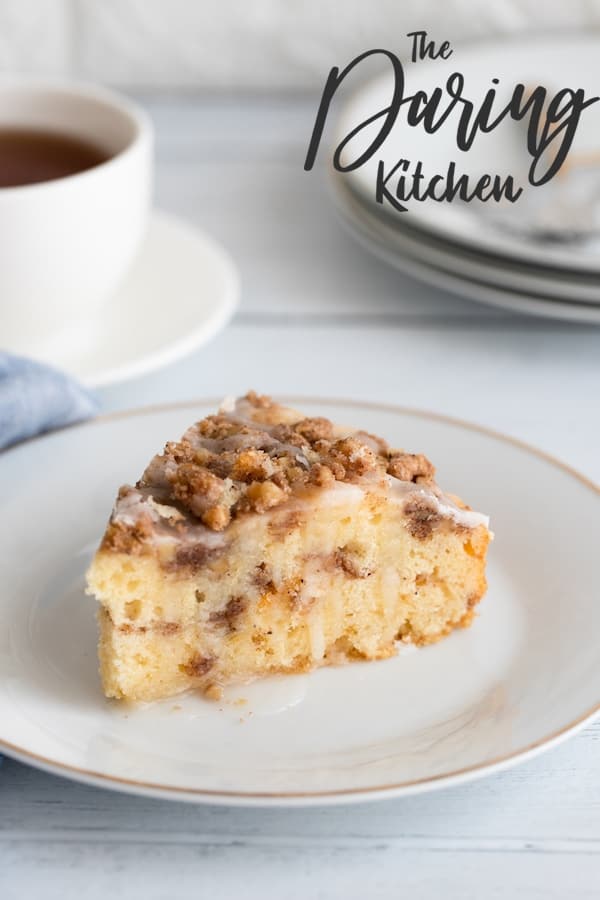
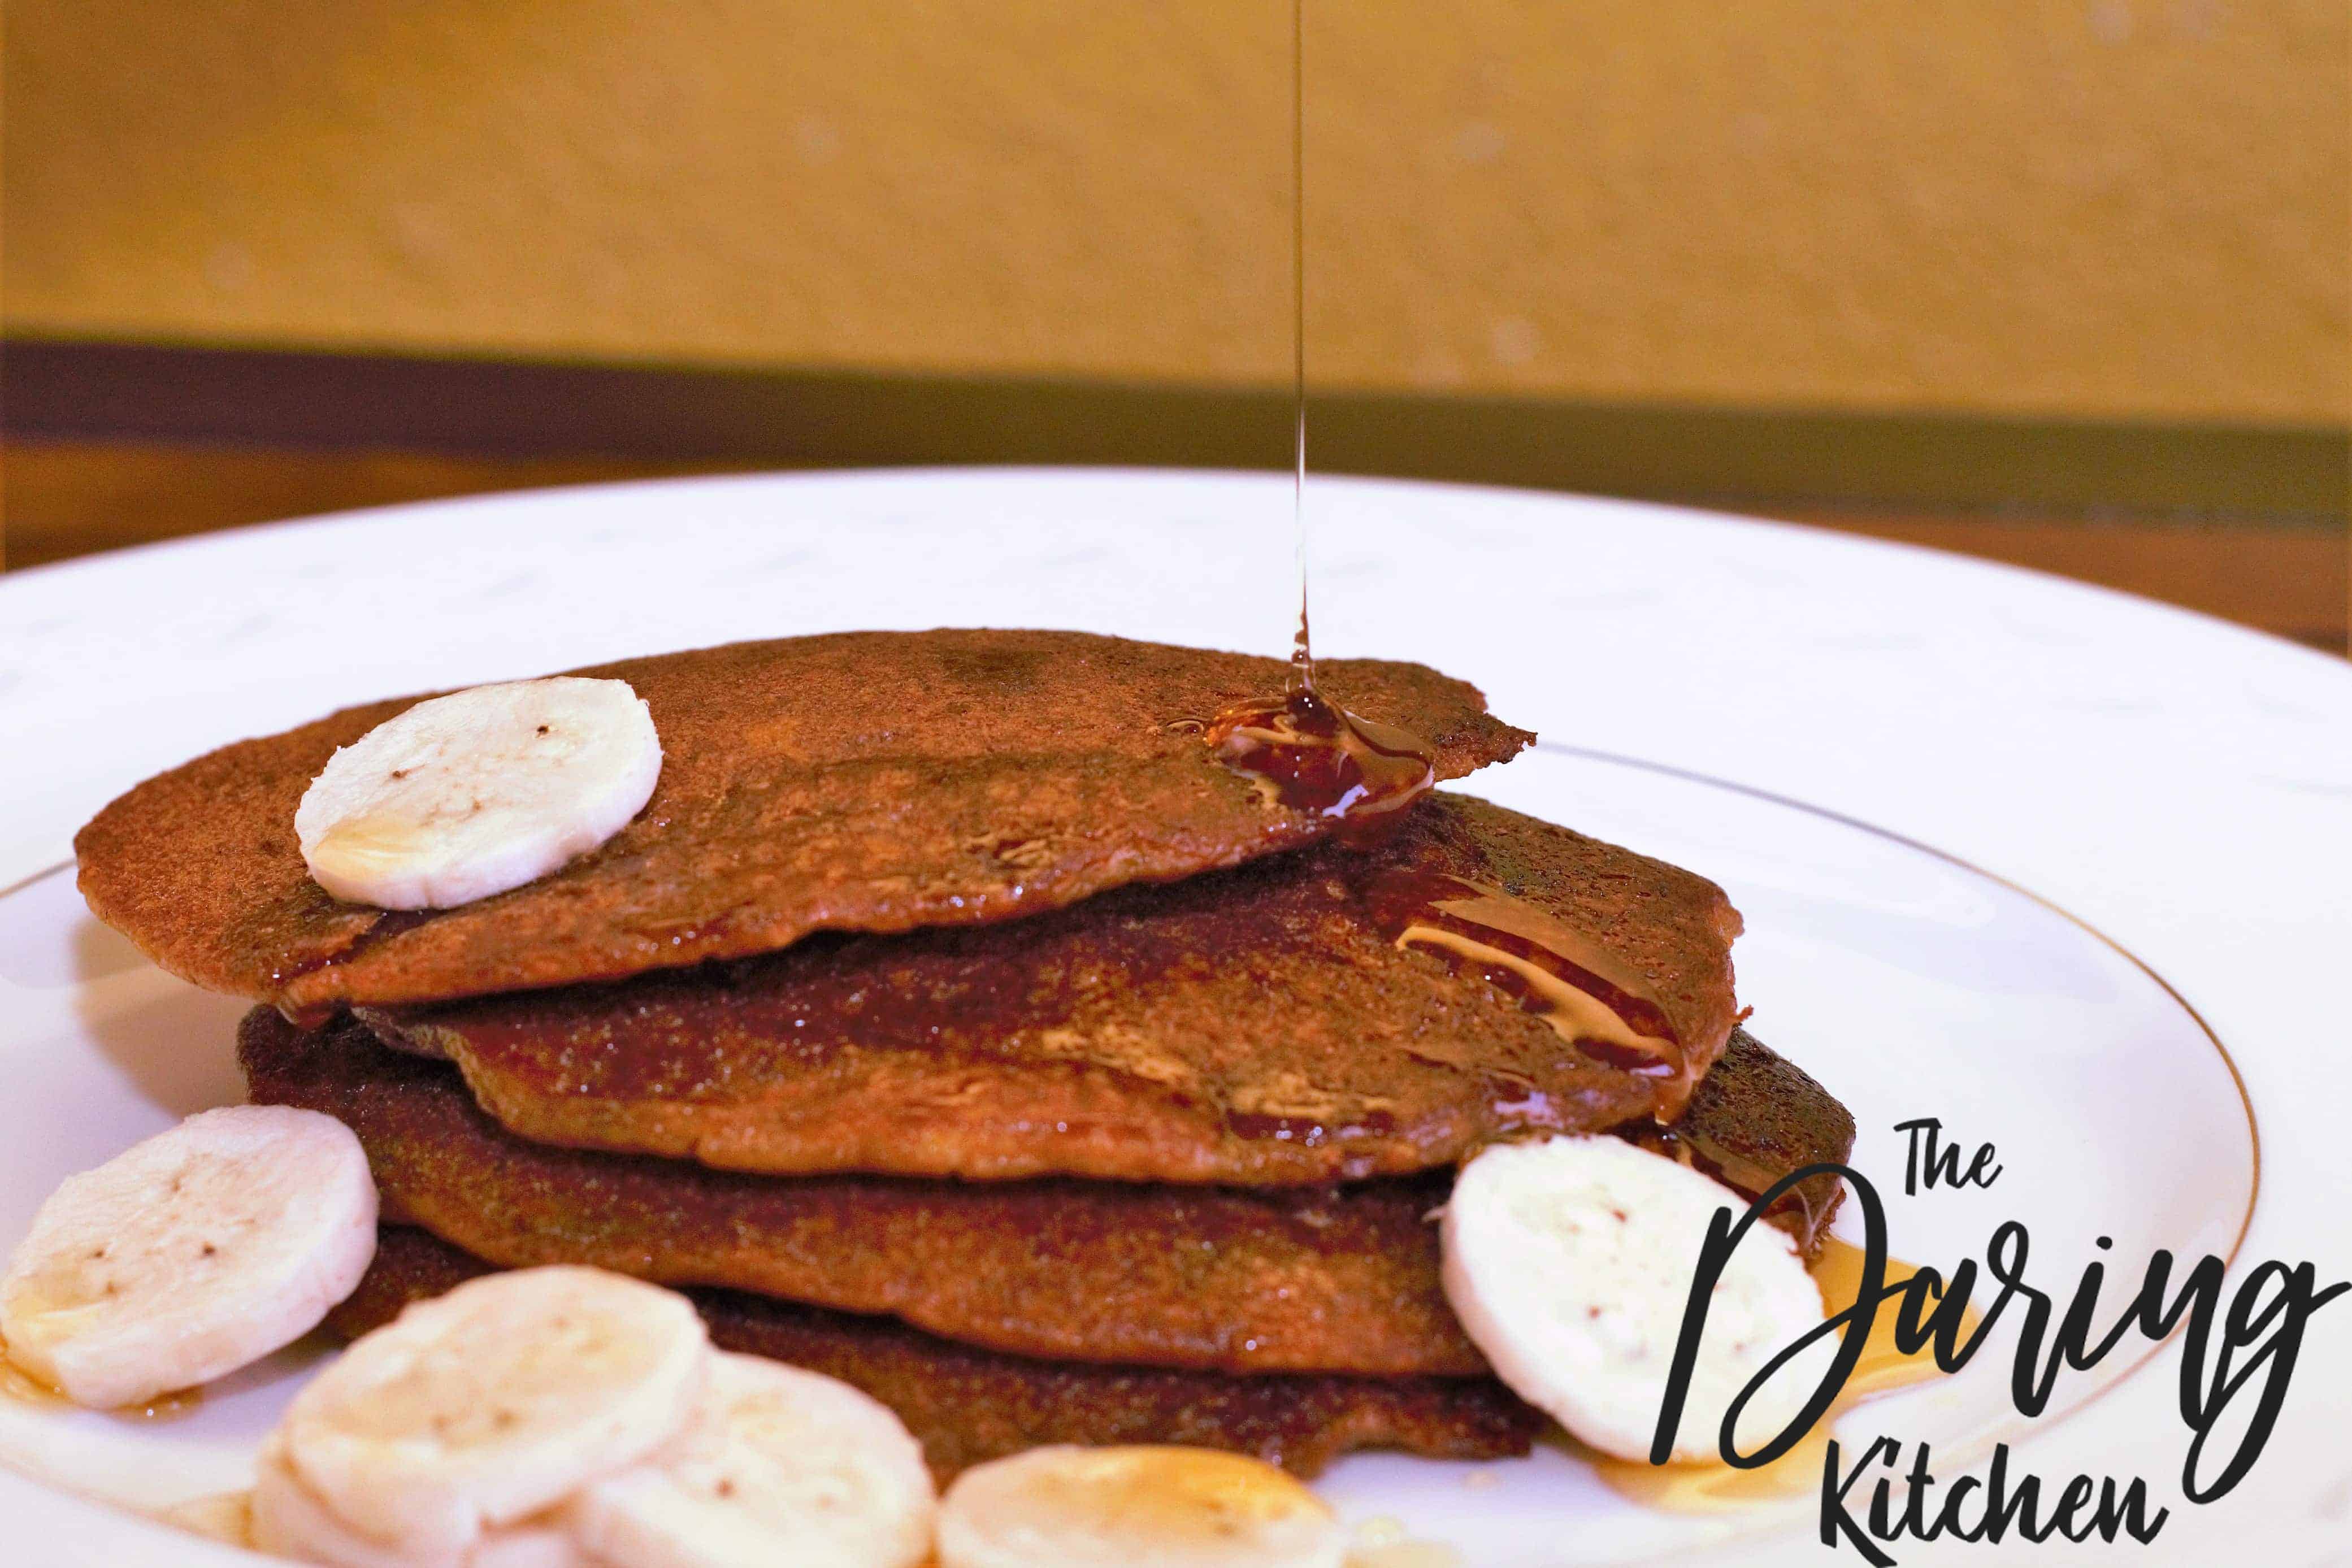
See more breakfast recipes →
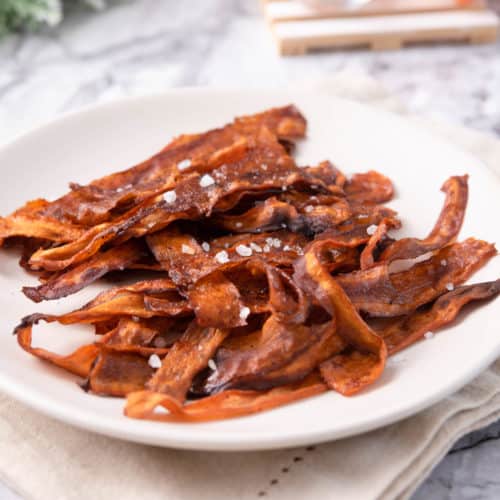
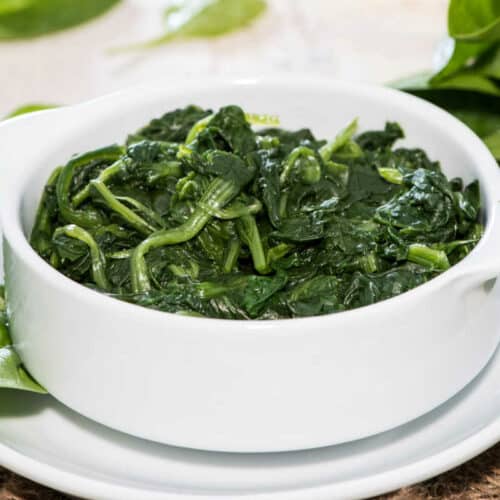
Side Dishes

See more side dishes →
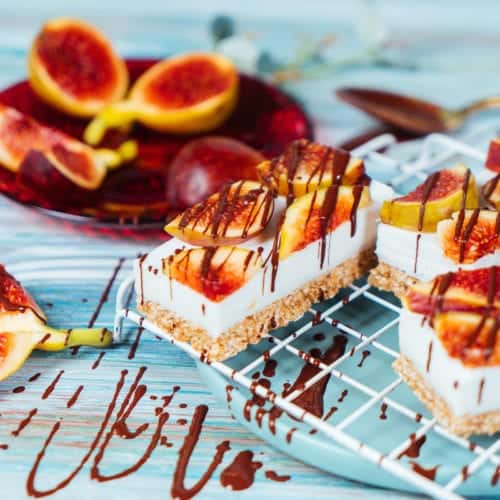
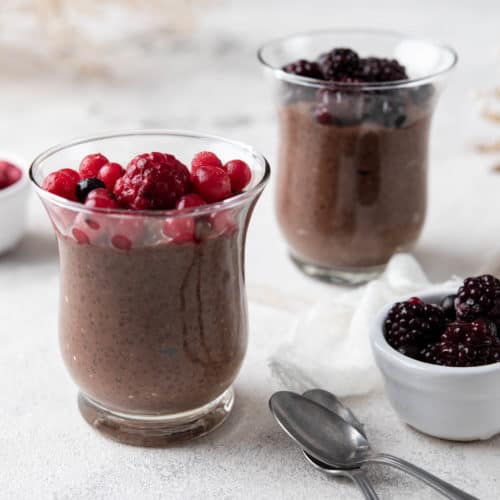
Dessert Recipes

See more dessert recipes →
Food Substitutes
Sometimes you're missing an ingredient and need something to swap with. You have you covered with recommended food substitutes.
See more food substitutes →
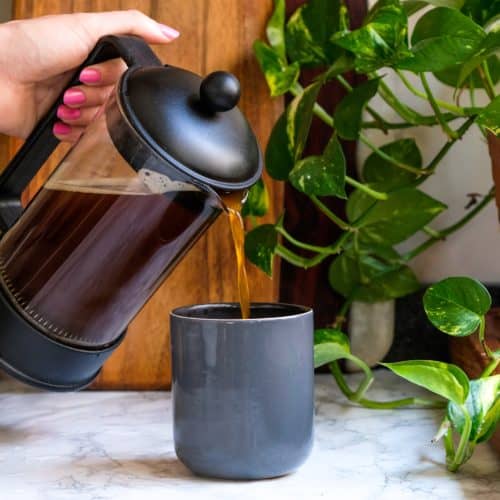
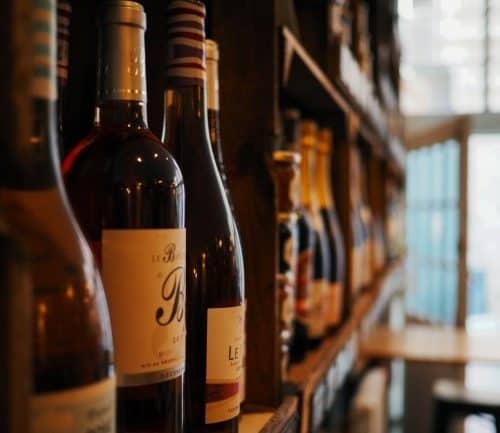
Beverage Recipes
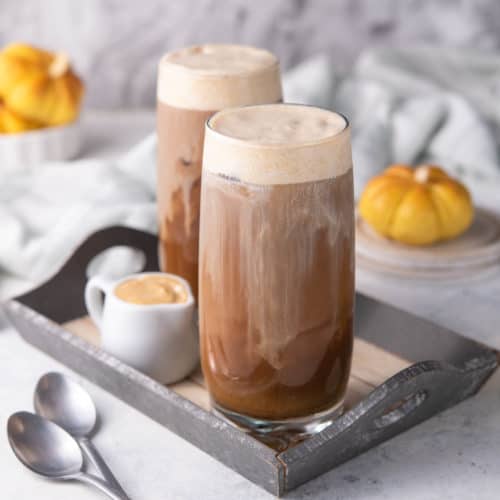
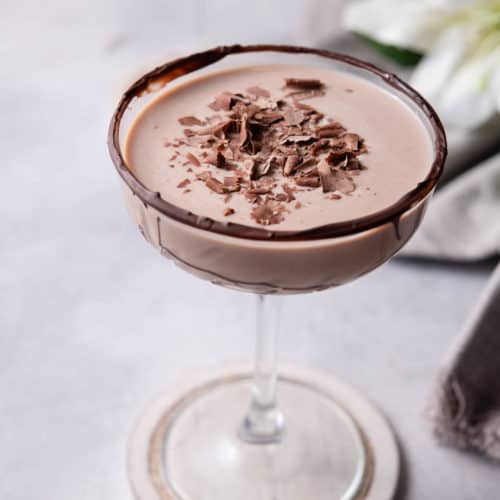
See more beverage recipes →
This vs That
See more this vs that →